Animal Crossing is downright charming and relaxing, so its popularity as a video game makes sense. However, if you’ve spent hours in front of the screen building your village and want a little reprieve, you can take your creative energy to the physical world. In fact, you don’t even have to say goodbye to the game! Here are cute, fun crafts inspired by Animal Crossing that will give your eyes a break, inspire your inner artist, and provide you with adorable things you can use.
A Resin Acorn Keychain
Acorns are one of the most iconic visuals in the game, and you can have one dangling off your purse or backpack wherever you go!
To get started, gather your supplies:
- Resin
- Acorn mold
- Pigment powder or paste
- Keychain top
Once you have everything ready, follow these steps:
Mix the Resin
Carefully measure and mix the resin according to the package’s instructions. Make sure to do this in a well-ventilated area and wear gloves to protect your hands.
Color the Resin
Color smaller portions of the mixed resin in the pigments you want.
Pour into the Mold
Slowly pour the mixed resin into the acorn mold. Try to avoid bubbles; if they form, you can use a toothpick to pop them.
Add the Keychain Top
Carefully position the part of the keychain top that will be inside of the acorn. It should be supported so it cures in the right spot.
Cure
Allow the resin to cure according to the package instructions. This usually takes several hours to overnight, depending on the resin you use. Keep it in a dust-free area to avoid any debris settling on it. Not allowing enough cure time is one of the top mistakes beginner resin artists make, so leave it for longer than you think is necessary.
Demold
Once fully cured, carefully remove the acorn from the mold. If the edges are sharp, you can gently sand them down with fine-grit sandpaper. Then, just attach the other part of the keychain top and hook it to your belonging of choice—voilà!
DIY Plushie Friends
This project lets you bring to life mini plushies of your favorite Animal Crossing characters. First, gather your supplies:
- Felt in various colors
- Sewing kit (needles and thread)
- Scissors
- Stuffing
- Reference images of Animal Crossing characters
And here is the process:
Cut Out Shapes
Use your reference images to cut out the different pieces for your plushies from the felt. You should end up with two main pieces for the body, one for the front and one for the back, that you’ll sew together.
Add Faces and Other Details
Get in there with your sewing needle and thread to add details, including facial features and any accessories.
Sew Together
Stitch the pieces together, leaving an opening to add stuffing.
Stuff Your Plushie
Fill the plushie with stuffing until it has the desired firmness.
Finish Sewing
Close up the opening with a neat stitch.
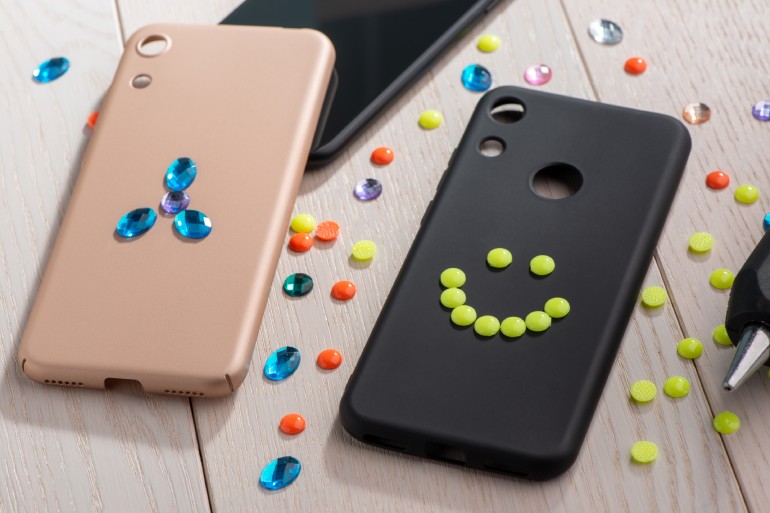
Customizable Animal Crossing Phone Case
A customized phone case gives you something unique to carry around with you all day, and it’s incredibly practical! Here are the supplies you’ll need:
- Clear phone case
- Printable vinyl sheets
- Cutting machine or craft knife
- Embellishments (such as Animal Crossing–themed charms)
- Polyurethane glue
Design Your Artwork
Use design software to create your favorite Animal Crossing characters or quotes. Alternatively, search for premade templates online.
Print Your Designs
Print your chosen designs onto the vinyl sheets. You can also get this done at a craft store if you don’t have the specialized printer.
Cut Out the Designs
Carefully cut out the printed designs using scissors or a cutting machine for precision.
Apply the Designs
Position your cut-out designs on the clear phone case. Adjust them as necessary to ensure a perfect fit.
Embellish!
Once satisfied with the core design, let your creativity loose! Use the glue to secure themed charms wherever you like. Beads, mosaic tiles, and pipeable foam can also be nice touches.
Even the most experienced gamers need a break from the screen occasionally. Dive into these cute, fun crafts inspired by Animal Crossing and bring the vibrant world of the game into your life!